Add a wishlist button to the product collection
Make sure you enable the app in your theme customize.
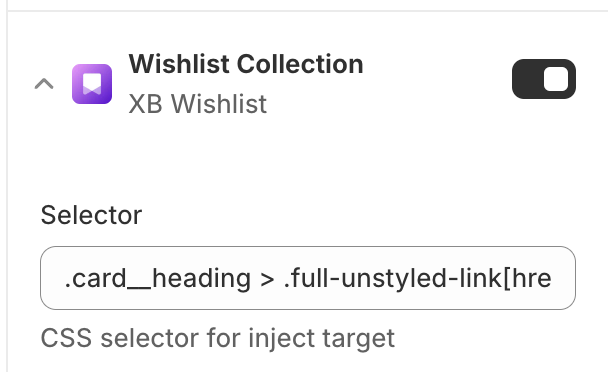
Using app embeds in theme customize
You can choose how to display the wishlist page to your customers. There are two options available:
- Choose a product card
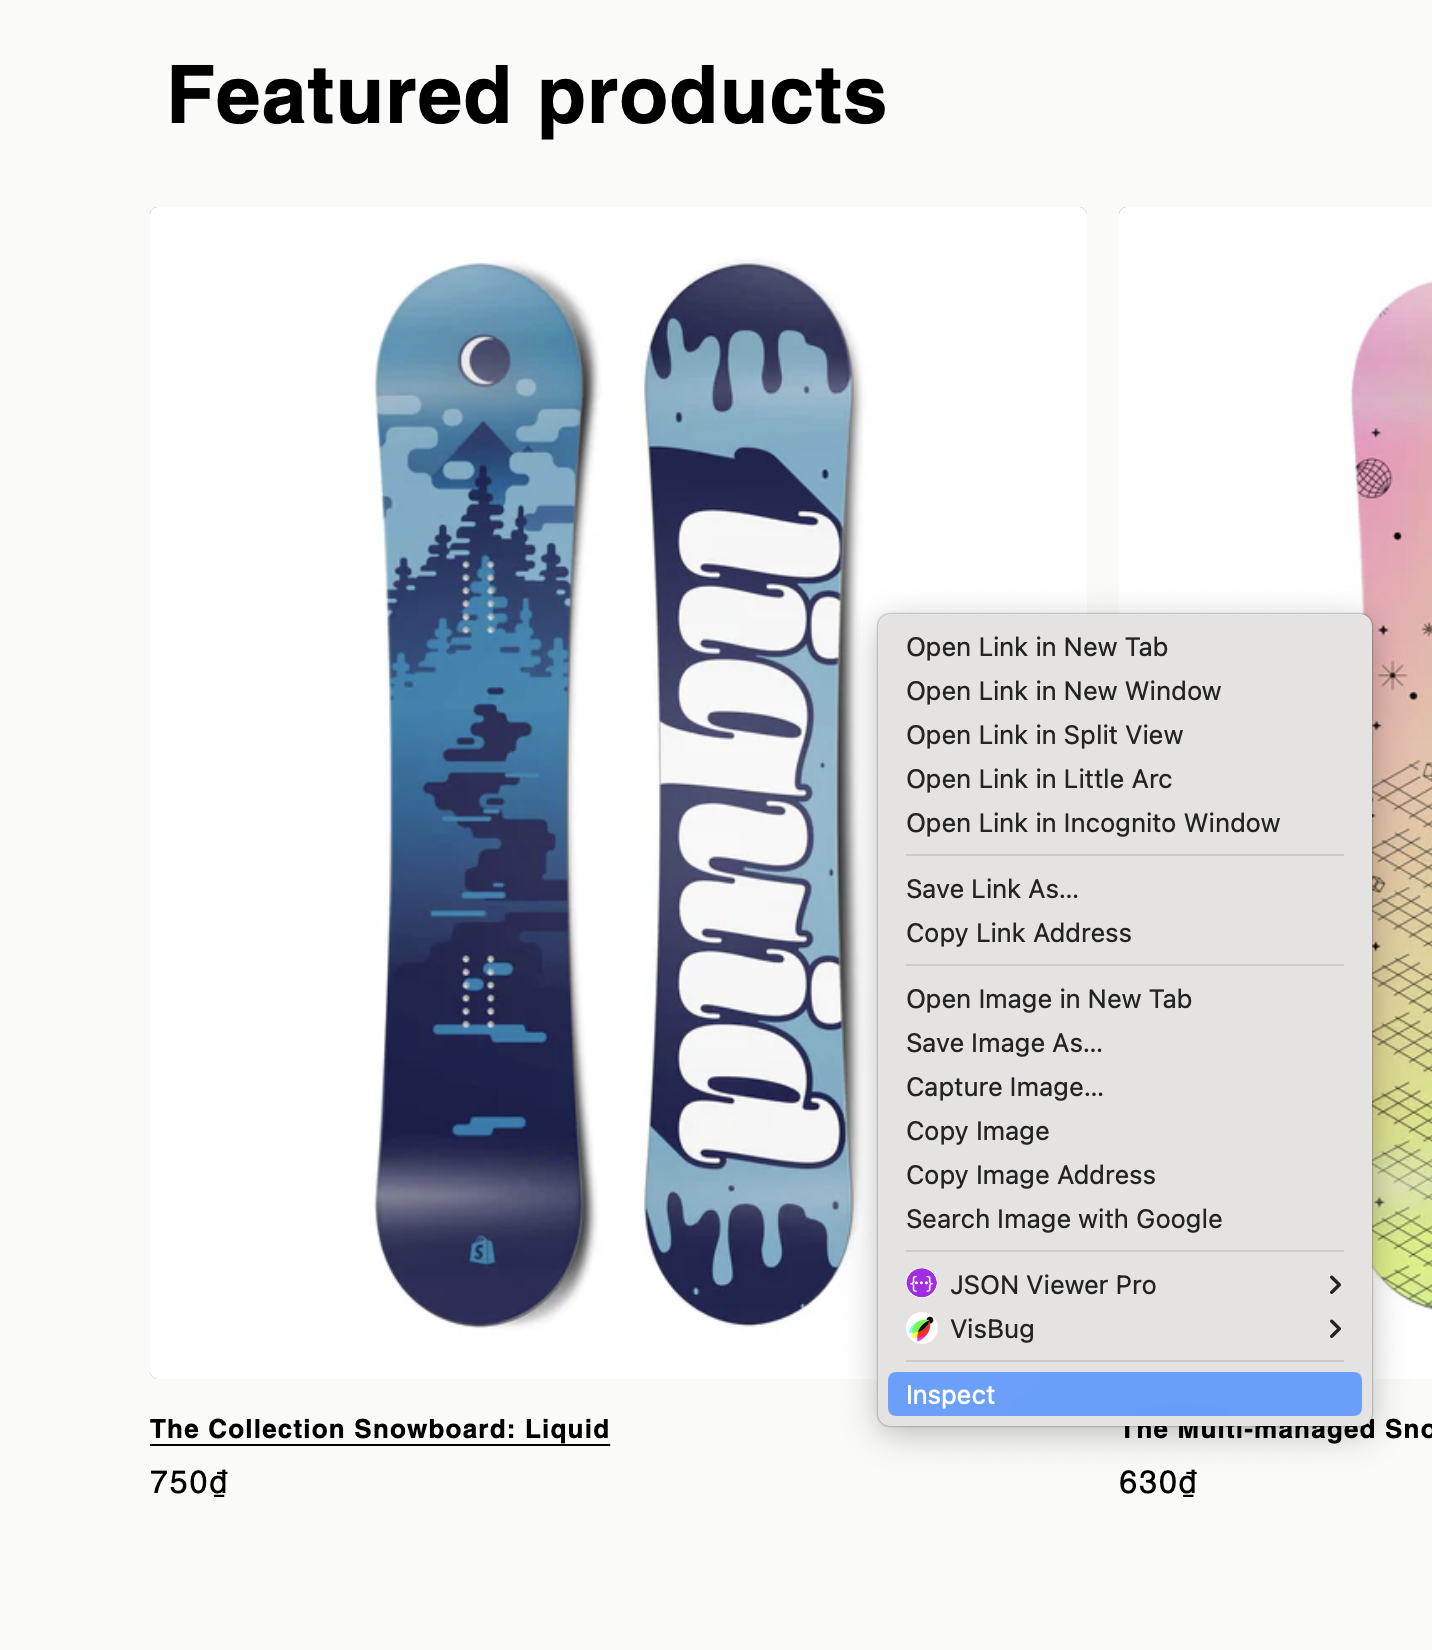
- Right click to your product card and choose Inspect
-
Product link selector
The product link is defined by a CSS selector, which points to an anchor element with a product page href. We recommend to be as specific as possible with this selector to avoid injecting the button in unwanted places. We often use a selector with a pattern match to reference product links.
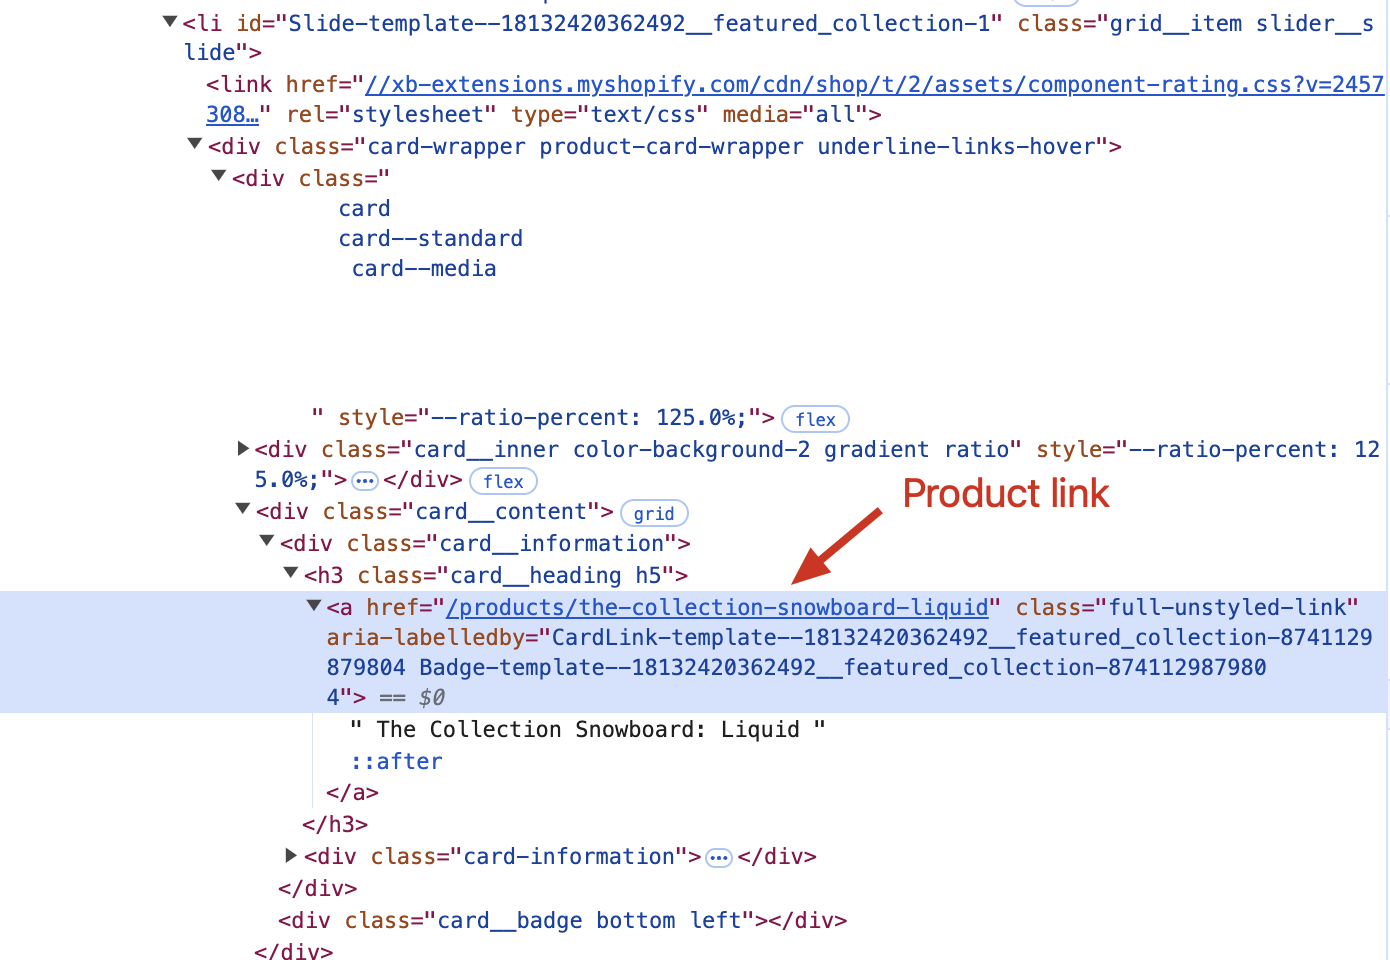
Result:
.card__heading > .full-unstyled-link[href*="/products/"]
- Paste it to the app
Customize button for developers
-
Go to edit code of theme
-
Edit
snippets/card-product.liquidWe provide you with 2 buttons: add wishlist button, remove wishlist button
-
Add wishlist button includes the attributes:
class="xb-wishlist__add", xb-product-id='{{ product.id }}', xb-product-title='{{ product.title }}' -
Remove wishlist button includes the attributes:
class="xb-wishlist__remove", xb-product-id='{{ product.id }}'
Example:
<div class='xb-wishlist__btn-custom'>
  <div
    class='xb-wishlist__add'
    xb-product-id='{{product.id}}'
    xb-product-title='{{ product.title }}'
    xb-product-variant='{{ product.selected_or_first_available_variant.id }}'
    xb-is-in-stock='{{ product.available }}'
    xb-product-handle='{{ product.handle }}'
  >
    <button>
      <svg
        xmlns='http://www.w3.org/2000/svg'
        width='20'
        height='20'
        viewBox='0 0 24 24'
        fill='none'
        stroke='#FF4A71'
        stroke-width='2'
        stroke-linecap='round'
        stroke-linejoin='round'
      >
        <path d="M20.84 4.61a5.5 5.5 0 0 0-7.78 0L12 5.67l-1.06-1.06a5.5 5.5 0 0 0-7.78 7.78l1.06 1.06L12 21.23l7.78-7.78 1.06-1.06a5.5 5.5 0 0 0 0-7.78z"></path>
      </svg>
    </button>
  </div>
  {% comment %}
     - optional
    <div class="xb-wishlist__loading" xb-product-id="{{product.id}}">Loading...</div>
  {% endcomment %}
  <div class='xb-wishlist__remove' xb-product-id='{{product.id}}' xb-is-in-stock='{{ product.available }}'>
    <button>
      <svg
        xmlns='http://www.w3.org/2000/svg'
        width='20'
        height='20'
        viewBox='0 0 24 24'
        fill='#FF4A71'
        stroke='#FF4A71'
        stroke-width='2'
        stroke-linecap='round'
        stroke-linejoin='round'
      >
        <path d="M20.84 4.61a5.5 5.5 0 0 0-7.78 0L12 5.67l-1.06-1.06a5.5 5.5 0 0 0-7.78 7.78l1.06 1.06L12 21.23l7.78-7.78 1.06-1.06a5.5 5.5 0 0 0 0-7.78z"></path>
      </svg>
    </button>
  </div>
</div>